
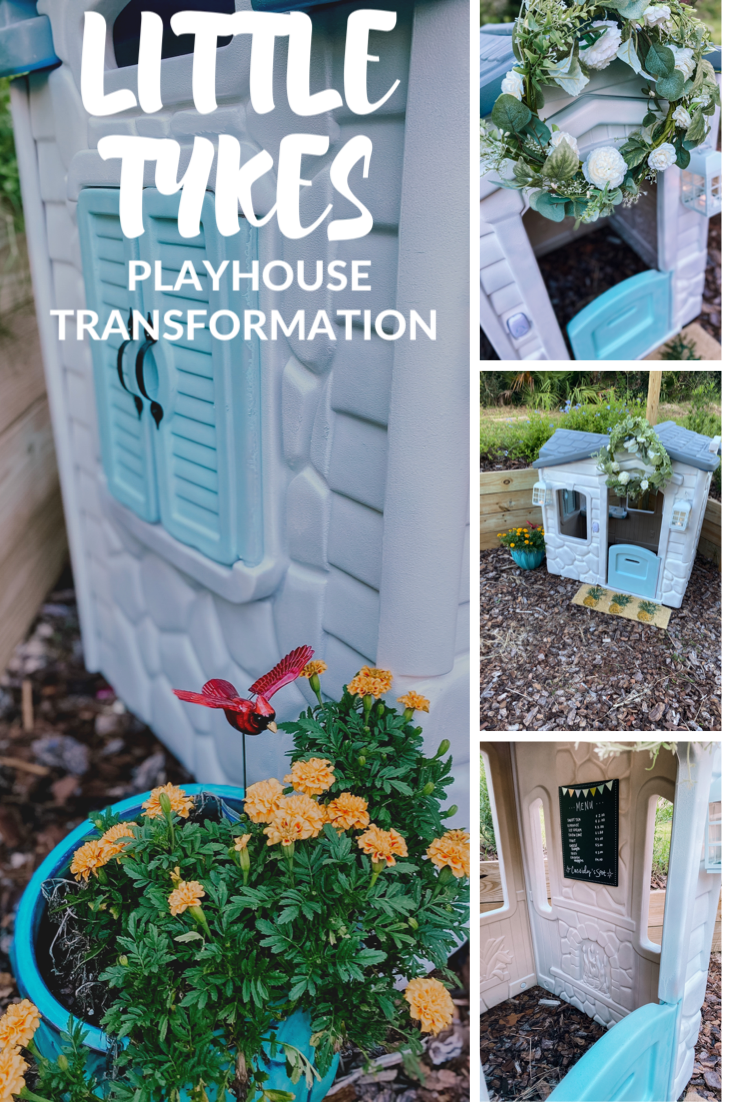
This project added another quarantine DIY to our belt however this wasn’t the first time we redid this dresser. This dresser was a part of a set that has been in my family for decades. When we were preparing Cassidy’s nursery in 2016, we were short on space. It sparked an idea for me. Let’s take this walnut colored dresser & stain it to match the baby’s crib. It later dawned on me, this could double as a changing table.
So the first DIY began. Darrin and my mom sanded the dresser and all of the drawers down. Once that was completed, they stained it. It turned out beautiful and I felt like I had a custom piece that had so much meaning to me for our baby girls room.
When we moved houses, we kept all of the same furniture for Cassidy’s room. As Cassidy got older she decided to decorate it with crayon markings and stickers. Honestly, the dresser was in bad shape. It became a catch all for shoes and toys.
We redid Cassidy’s bedroom. See the blog post here. We decided not to use the dresser in that space. Bring on the disorganization. Her clothes were in one room and bed in another. It was a mess.
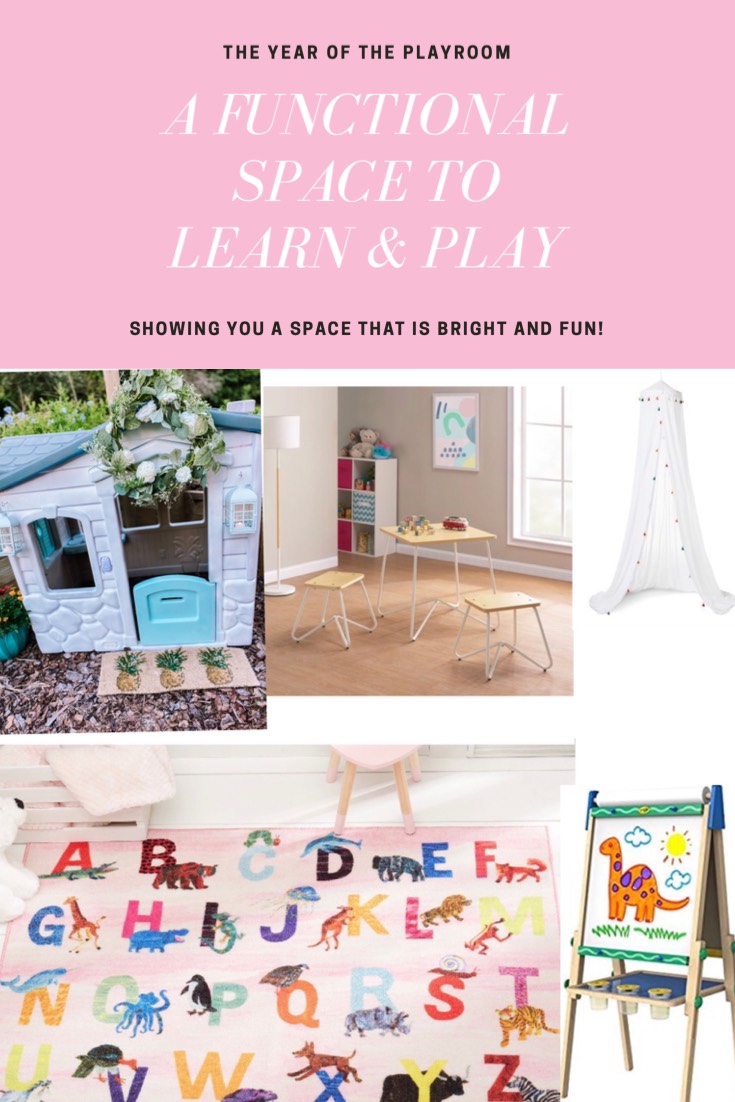
In an effort to keep Cassidy’s room tidy, we decided we needed a playroom. From there I decided this space would double as a space for homeschooling as well. Removing all of the toys from Cassidy’s room meant that her storage cube would need to come out of her room. In it’s place, we chose to use the furniture we already have – you guessed it – her old dresser.
Cue the transformation!
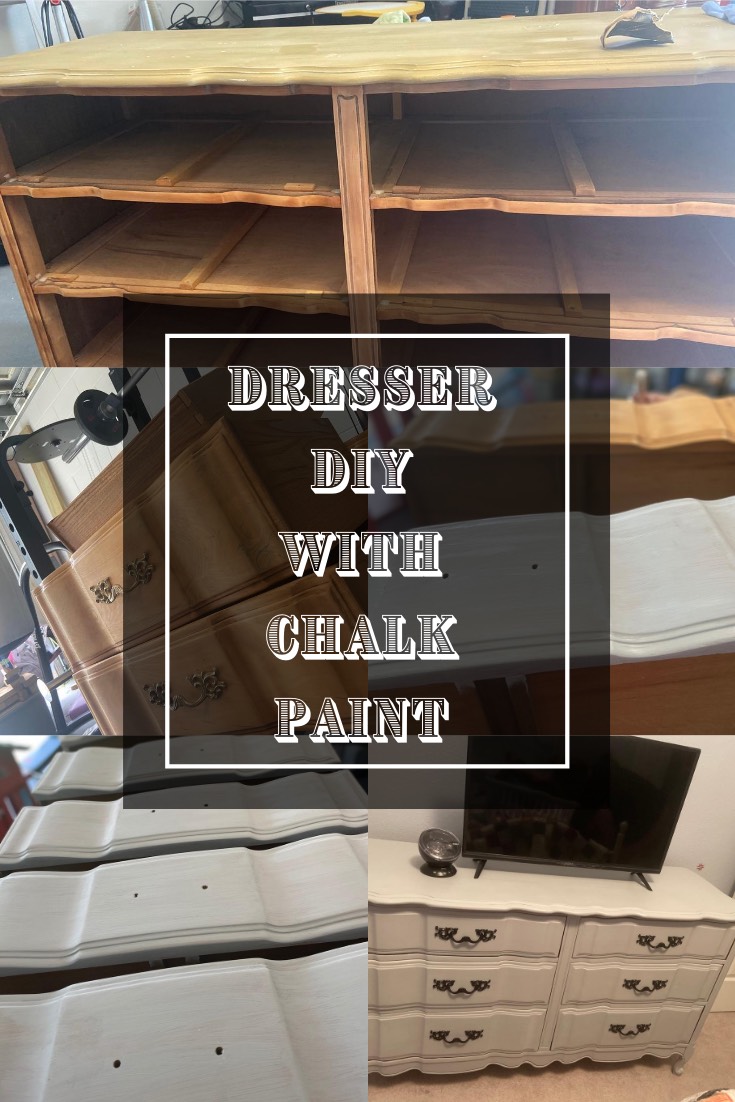
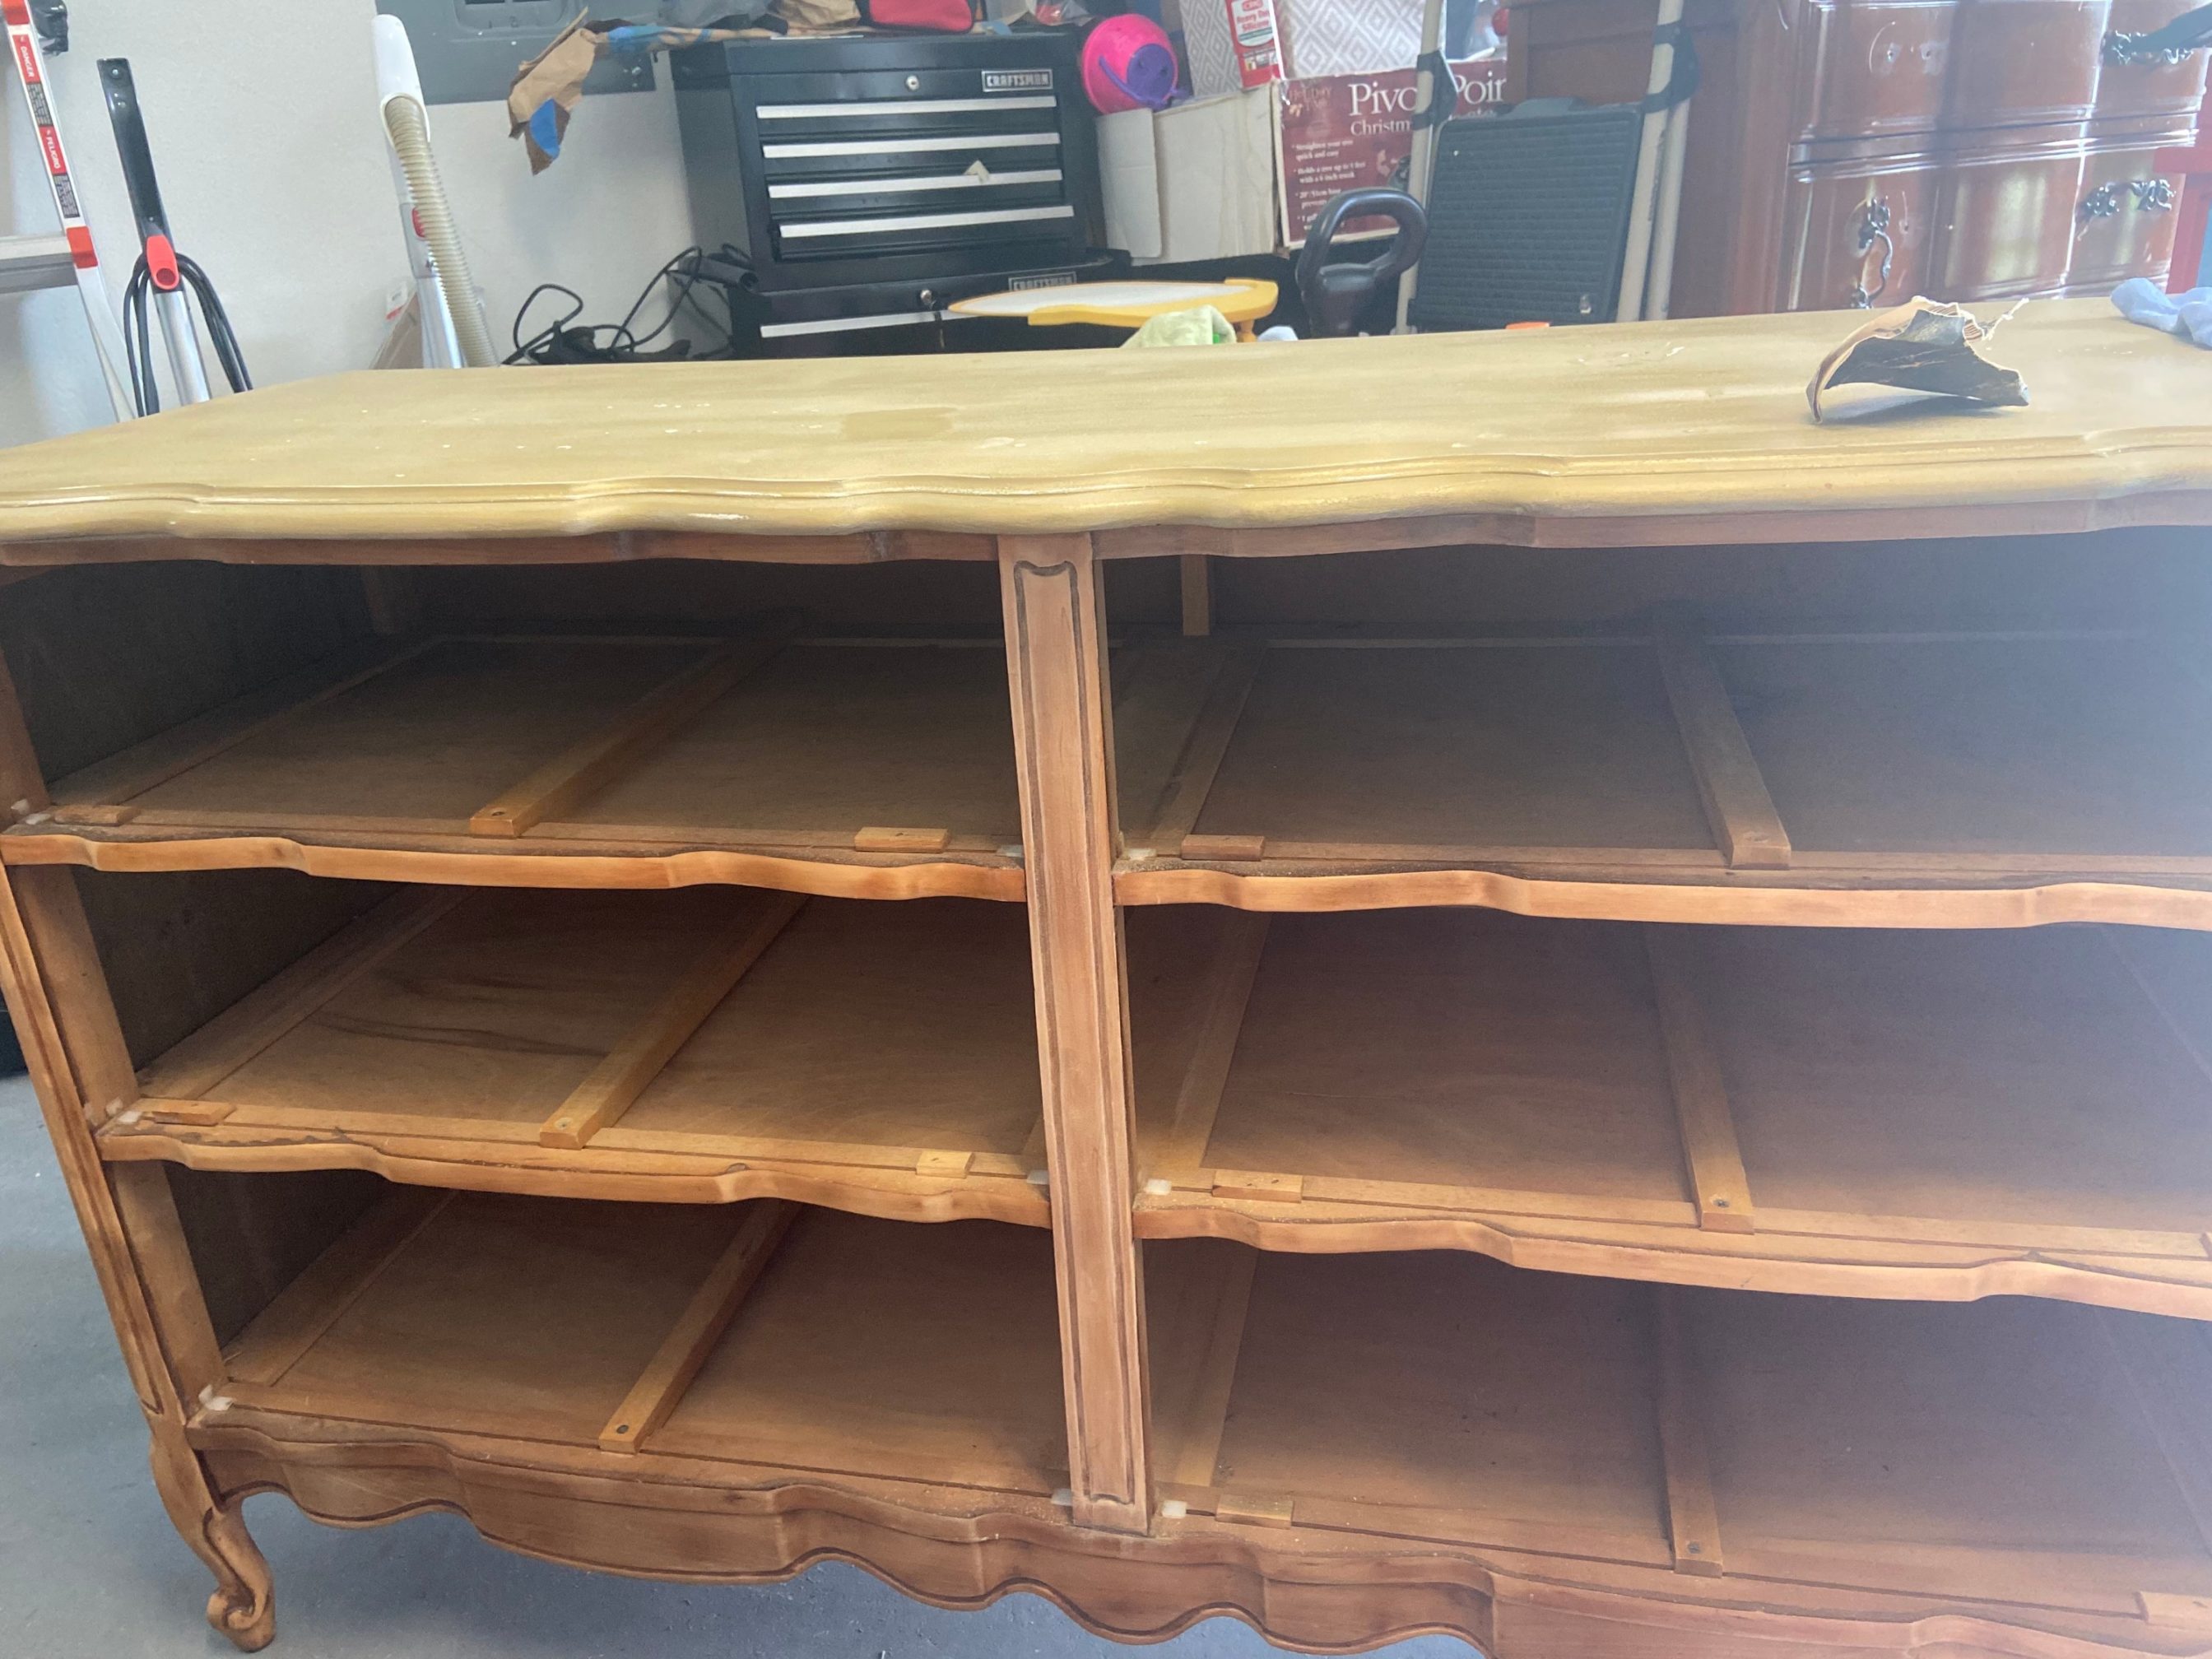
This DIY was much simpler than the original project of sanding the wood and staining it.
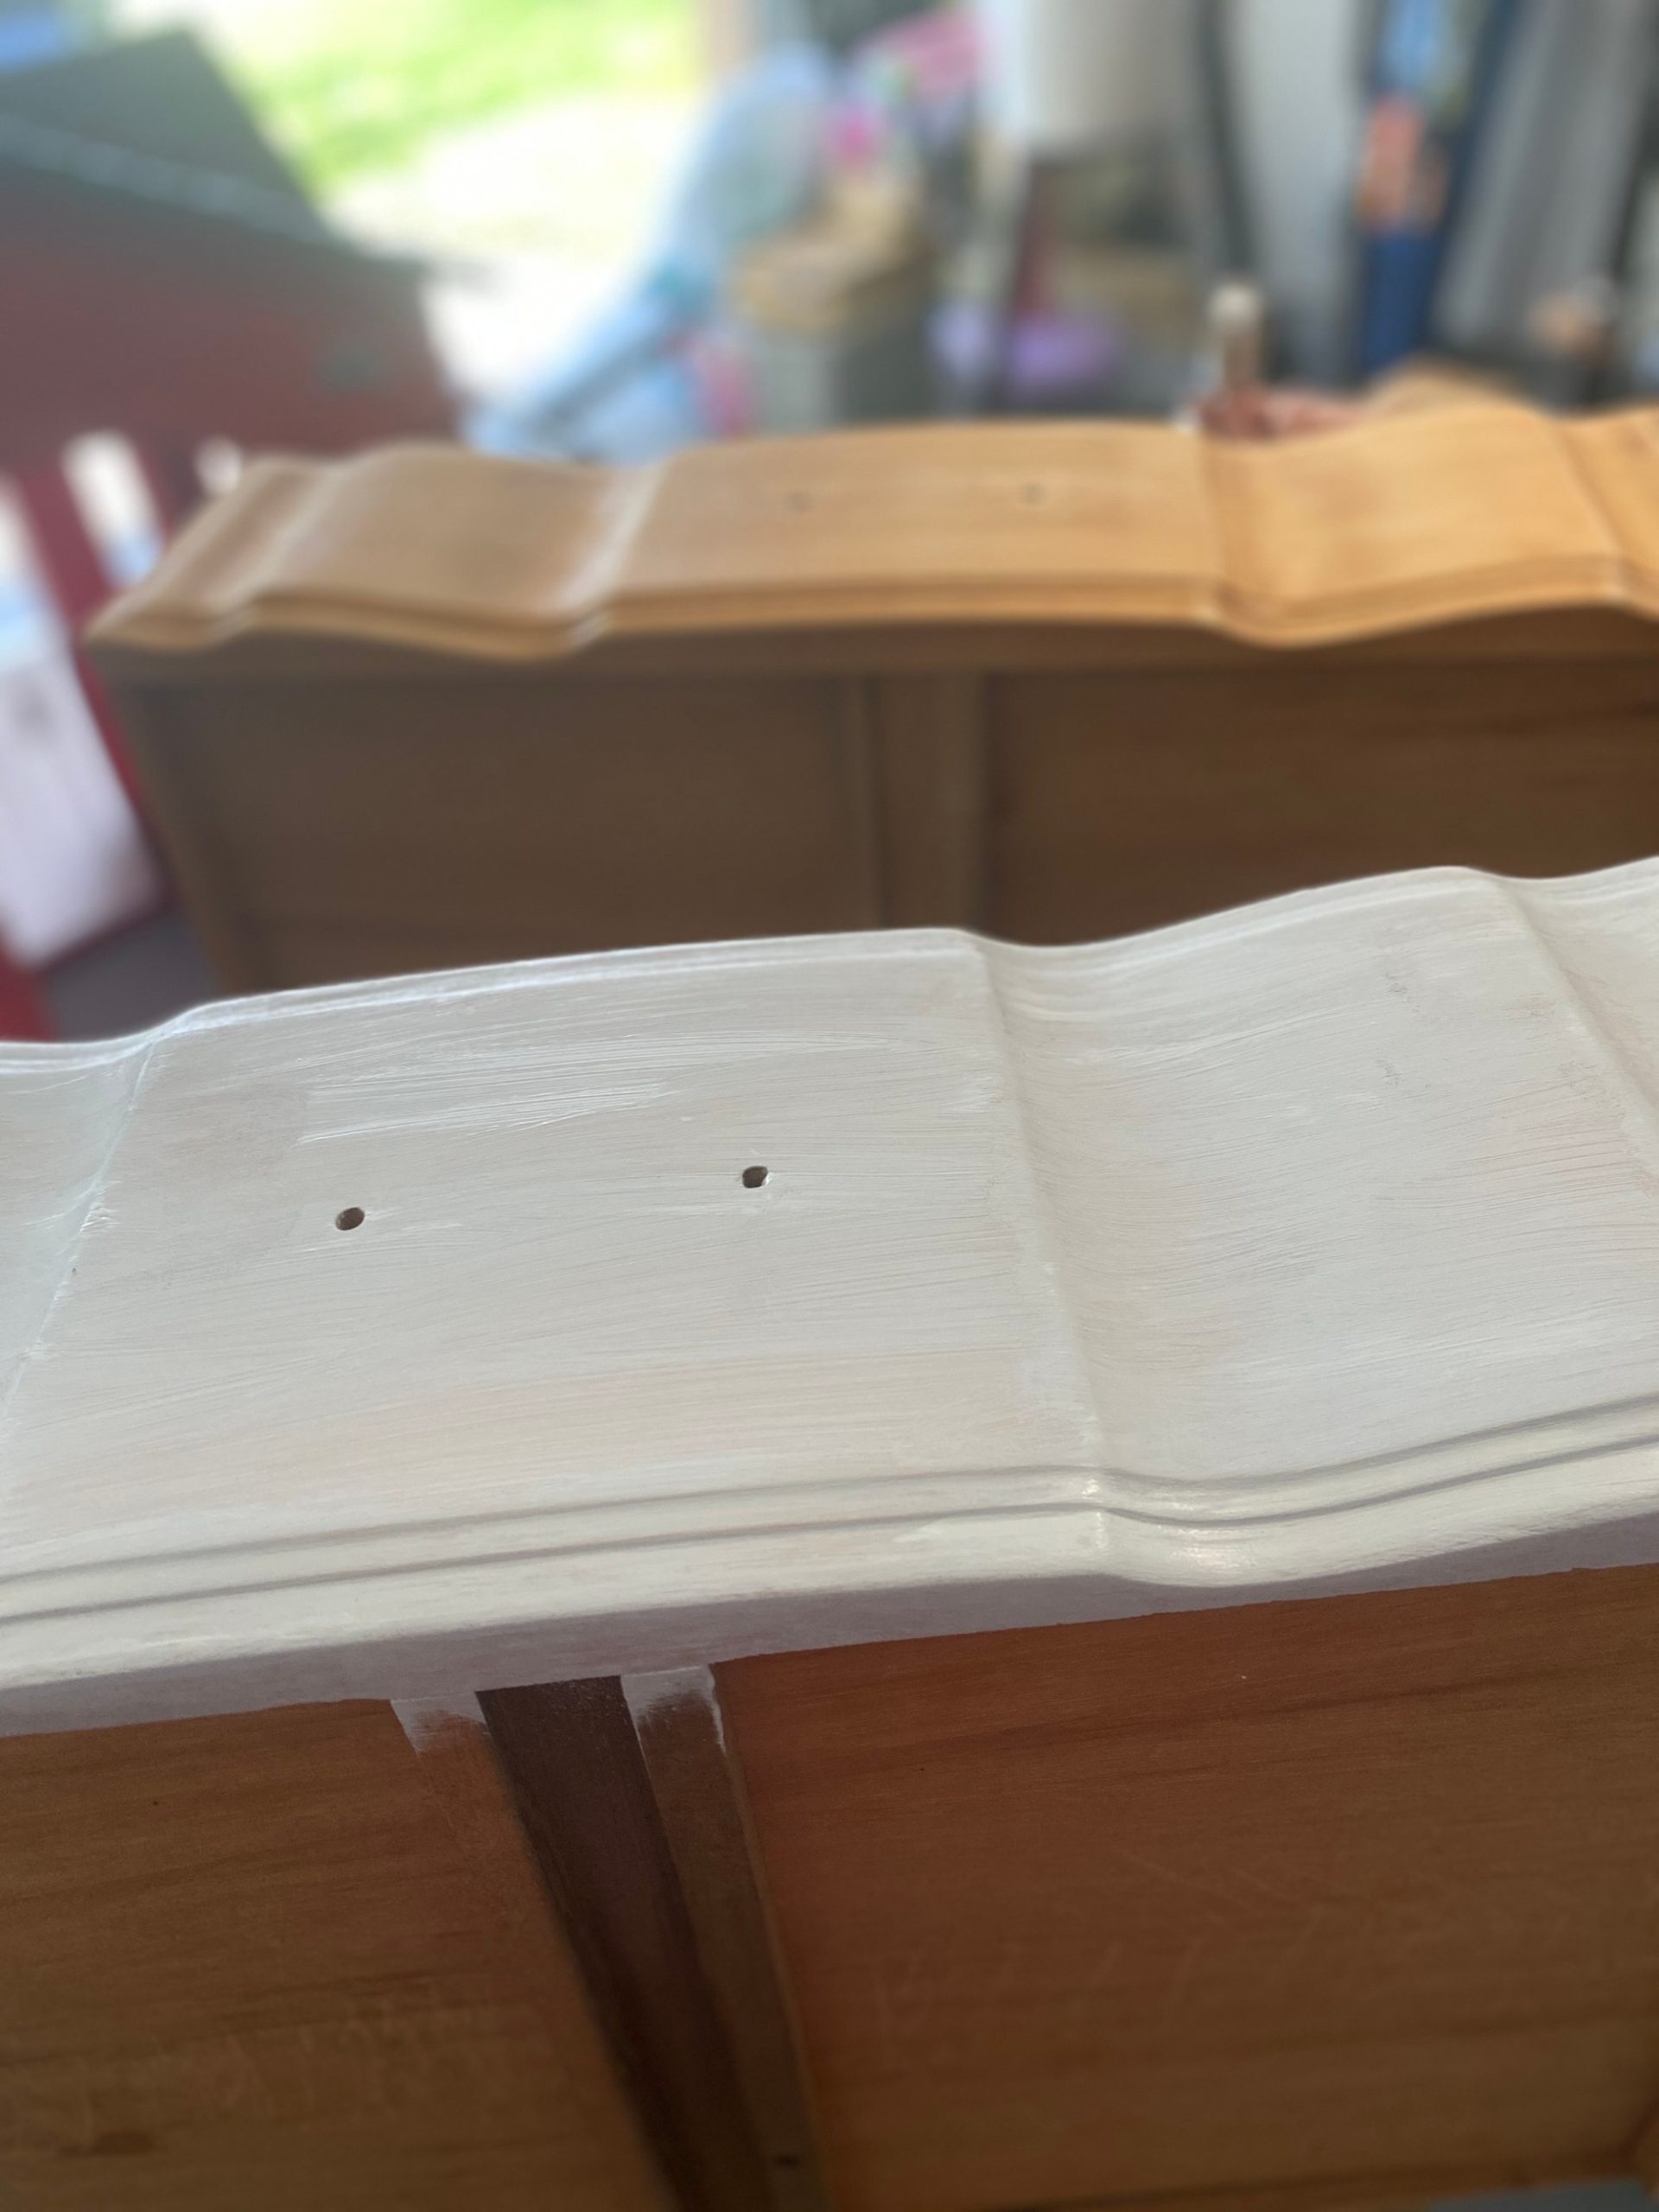
First we lightly sanded the dresser using sand paper. Once this was all sanded, we wiped it down to get rid of all of the dust.
Next we used Kilz Chalk Paint in the color Gray. To be honest, this was my first time working with chalk paint and it took me a little while to get used to laying it down with a roller. We used two coats to get the coverage we desired.
As far as brushes go, we used a mini roller and a stippling brush for smaller and more detailed areas.
After painting was completed, we used a wax to seal the paint. We used the stippling brush and a rag for this process.
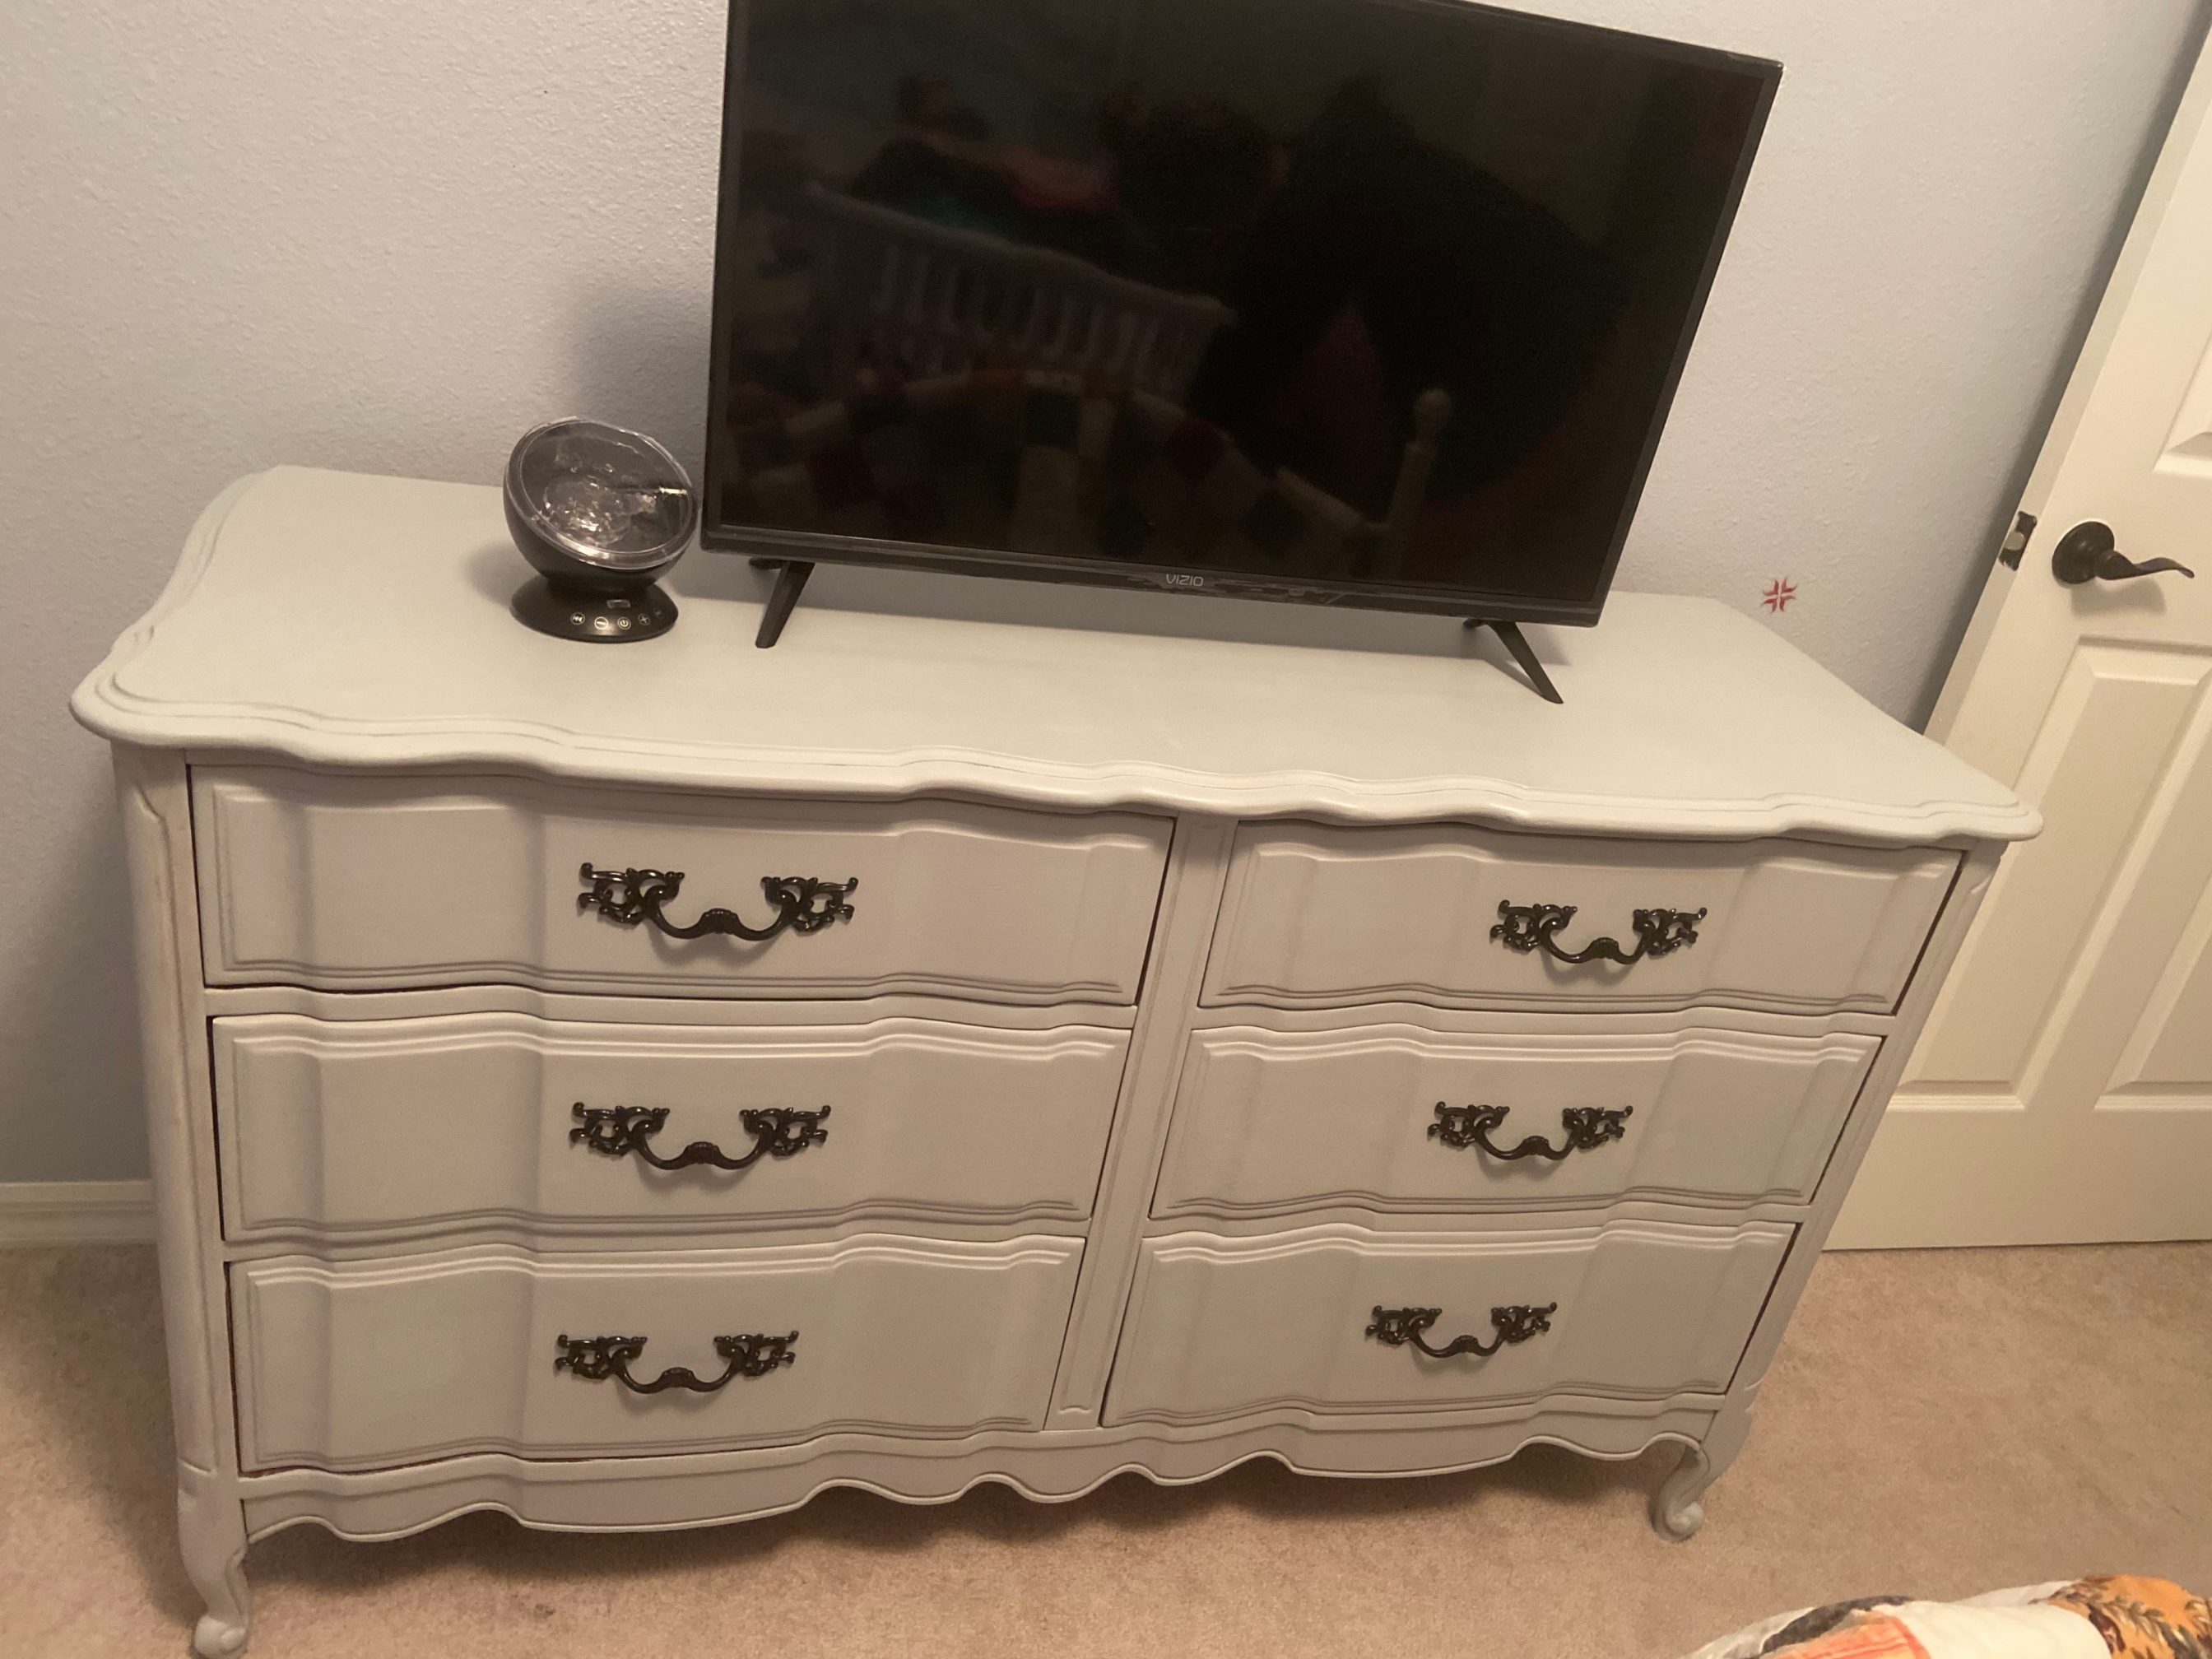
Finally we sprayed the handles with two coats of black Rustoleum spray paint.
When everything was dry we transferred the dresser into Cassidy’s bedroom and screwed the handles back on.
We absolutely love it! It came out great! Honestly, it was the easiest project we have done and it completely transformed the look of this dresser.
Have you done any quarantine projects? Did any of them involve chalk paint? Share your stories below!


1 comment
I’ve never seen grey chalk paint but what a innovative idea!